How to Add/Remove Common Program Groups from Start Menu in Windows 11?
4 Unique Methods to to Add/Remove Common Program Groups from Start Menu in Windows 11 PC!
The Start Menu in Windows 11 is one of the most efficient ways to access applications, programs, and tools. By default, it displays Common Program Groups, which include shortcuts to applications installed for all users on the system. If you want to customize the Start Menu by adding or removing common program groups, this tutorial provides clear methods for achieving it.
Related: Add/remove Android Apps From Your Phone To Start On Windows 11 Pc
Common Program Groups are shortcuts to programs or applications that are shared across all users on the computer. These groups are typically stored in:
- C:\ProgramData\Microsoft\Windows\Start Menu\Programs
Modifying these groups allows you to add or remove items from the Start Menu, ensuring a cleaner and more personalized experience for all users.
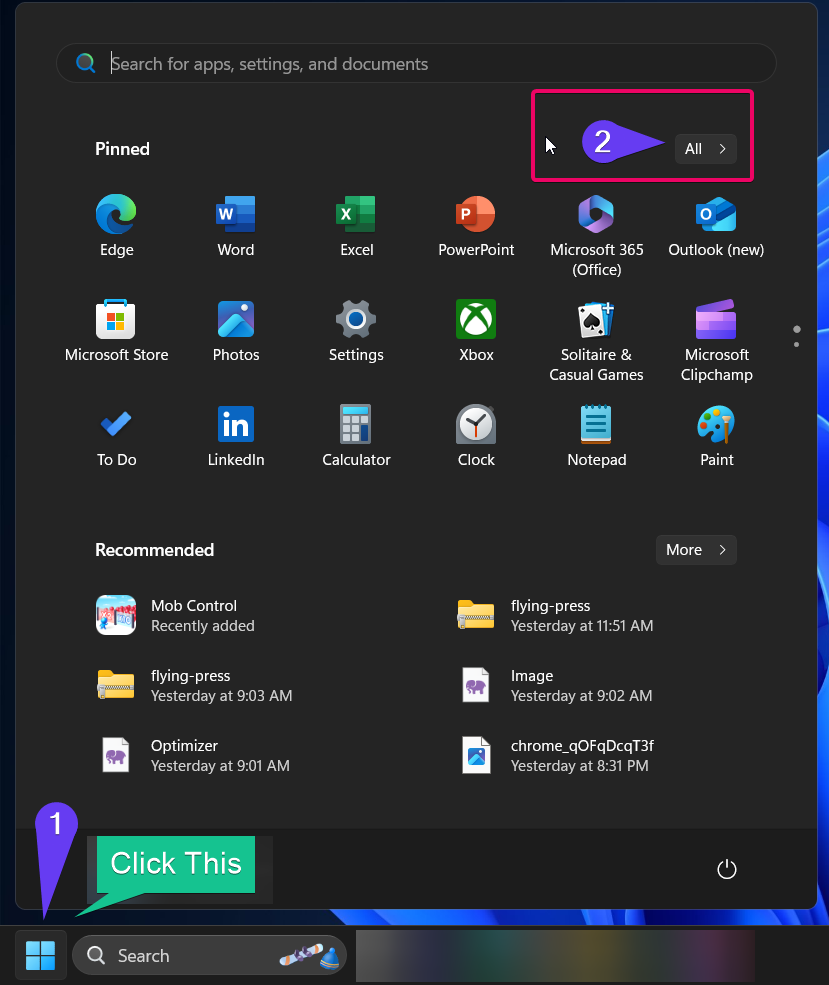
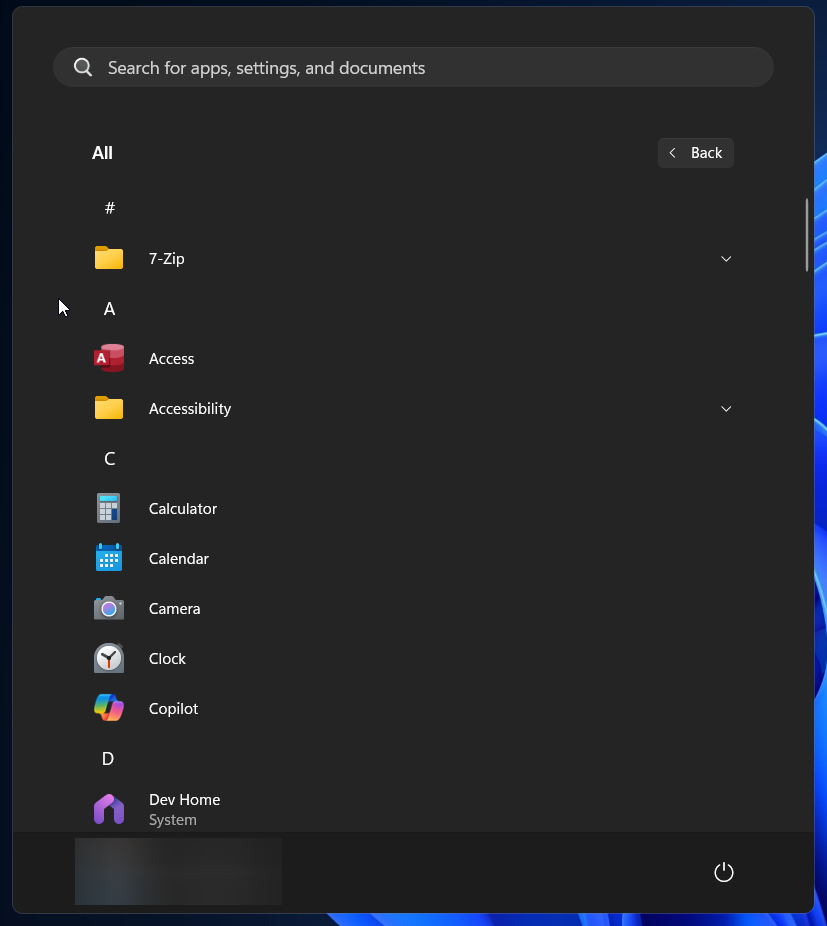
Sample Image Preview:
Method 1: Using Group Policy Editor
Note: This method is only available in Windows 11 Pro, Enterprise, and Education editions.
The Group Policy Editor provides an administrative way to hide or customize common program groups.
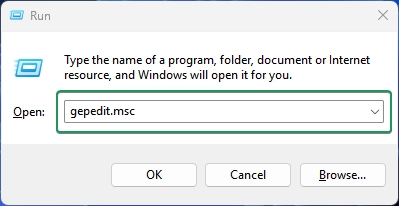
- Press Winkey + R, type gpedit.msc, and press Enter to open the Group Policy Editor.
- Navigate to the following path:
User Configuration > Administrative Templates > Start Menu and Taskbar
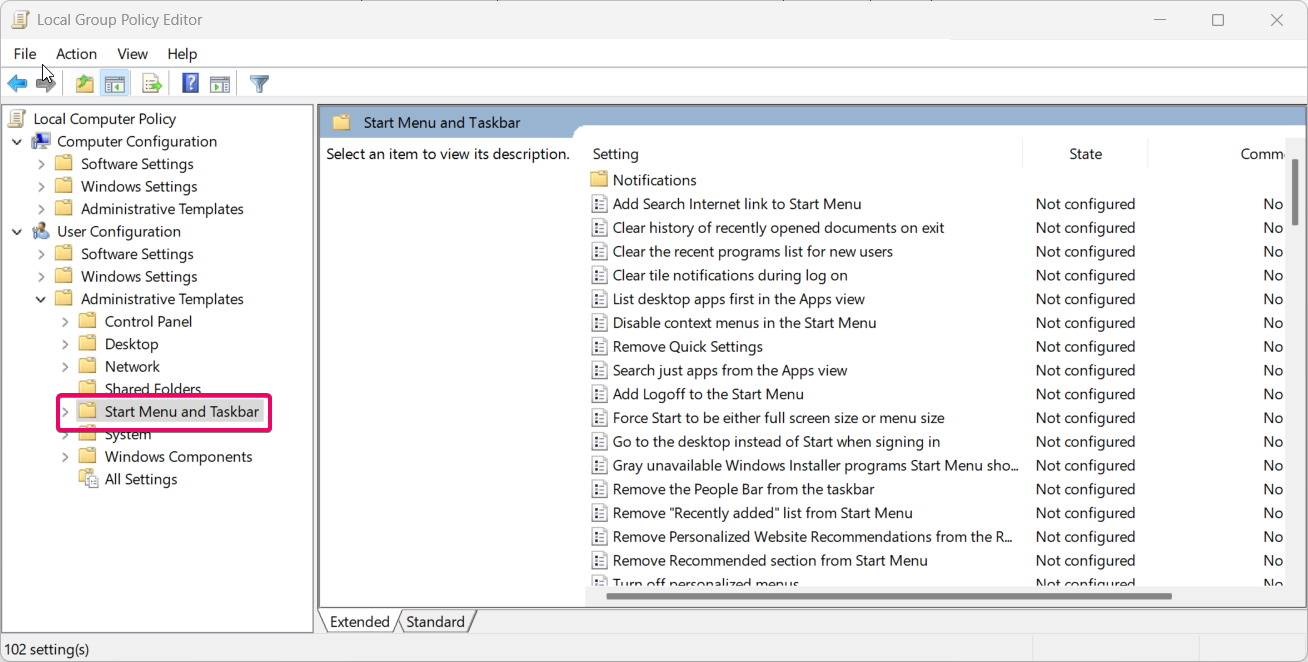
- Find the policy titled “Remove common program groups from Start Menu.”
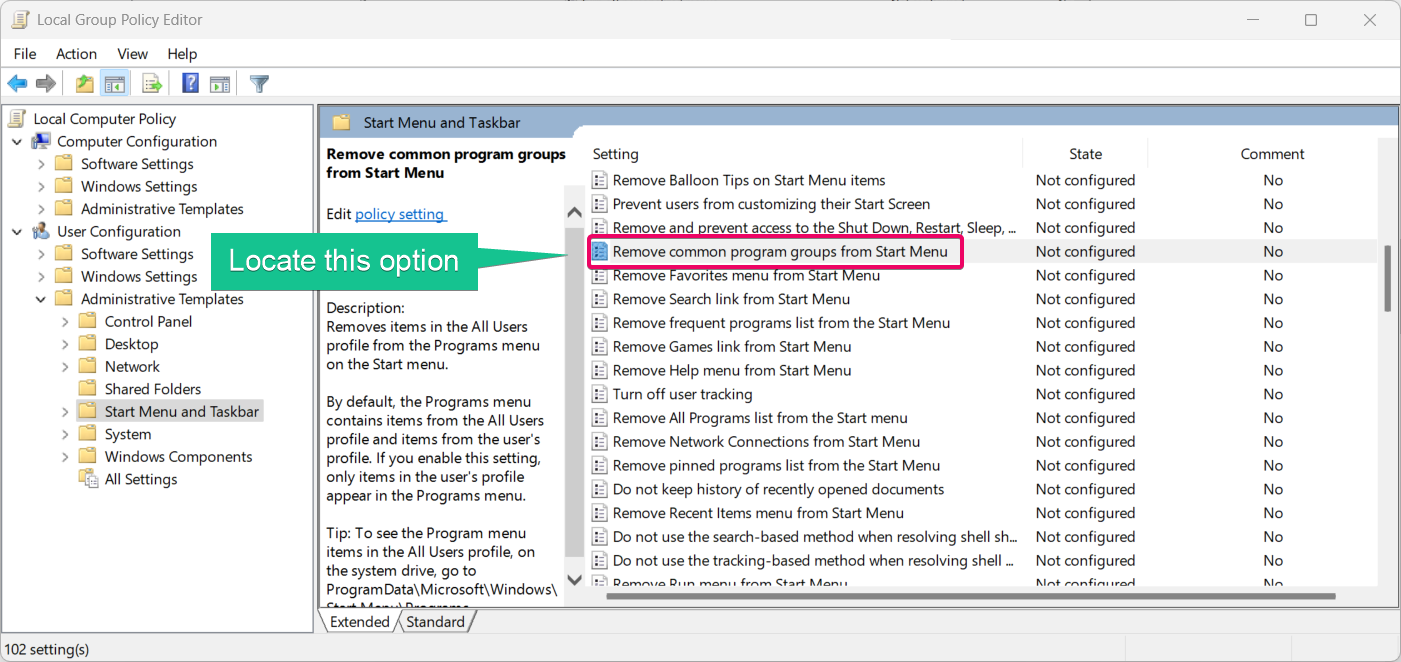
- Double-click the policy and choose:
- Enabled: To remove common program groups from the Start Menu.
- Disabled: To restore common program groups.
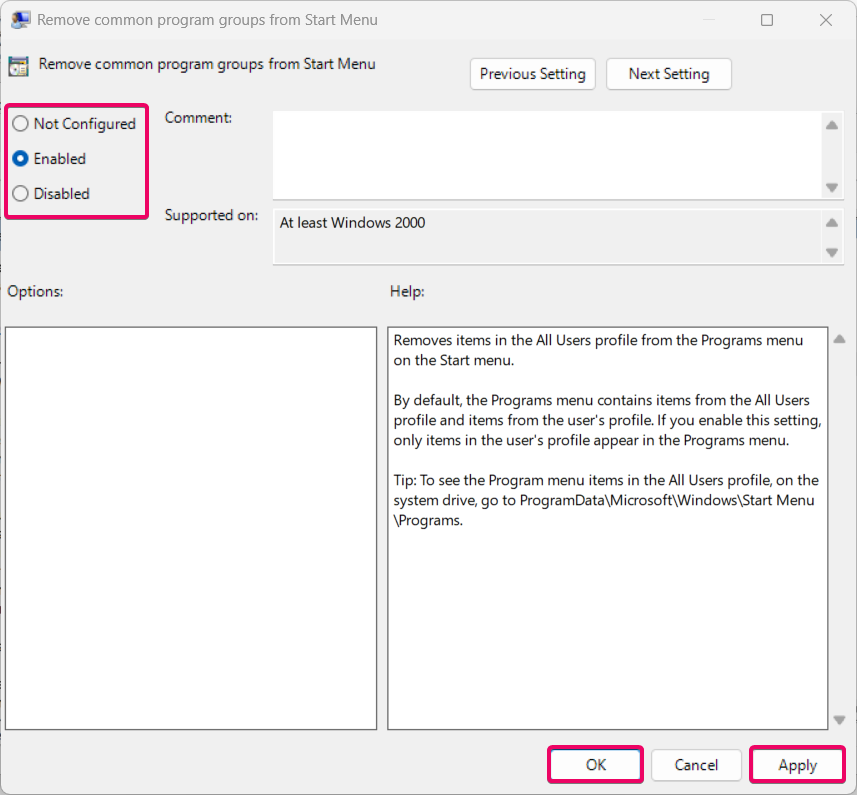
- Click Apply and then OK.
- Restart your computer for the changes to take effect.
This method is ideal for system administrators or users looking for a centralized solution.
Check Out: Add/remove “add To Favorites” Context Menu In Windows 11
Method 2: Using Registry File:
- Open Notepad file.
- To Enable Common Program Groups from Start Menu
- Copy and paste the below registry file code.
Windows Registry Editor Version 5.00
[HKEY_CURRENT_USER\Software\Microsoft\Windows\CurrentVersion\Policies\Explorer]
“NoCommonGroups”=-[HKEY_LOCAL_MACHINE\SOFTWARE\Microsoft\Windows\CurrentVersion\Policies\Explorer]
“NoCommonGroups”=-Check Out: Enable/disable Notification Badging For Microsoft Accounts On Start Menu In Windows 11
- You need to save as the file named “Add_common_program_groups_to_Start_menu_for_all_users.reg“.
- Once, the file have been saved, you need to run the registry file.
- Click yes, if prompted for UAC, and click “Allow” for merging the files into the existing ones.
- But make sure to take backup your registry file before merging registry files.
- Open Notepad file.
- To Enable Common Program Groups from Start Menu
- Copy and paste the below registry file code.
Windows Registry Editor Version 5.00
[HKEY_CURRENT_USER\Software\Microsoft\Windows\CurrentVersion\Policies\Explorer]
“NoCommonGroups”=dword:00000001[HKEY_LOCAL_MACHINE\SOFTWARE\Microsoft\Windows\CurrentVersion\Policies\Explorer]
“NoCommonGroups”=dword:00000001Check Out: Add Or Remove Sign Out In Account Picture Menu On Start Menu In Windows 11
- You need to save as the file named “Remove_common_program_groups_to_Start_menu_for_all_users.reg“.
- Once, the file have been saved, you need to run the registry file.
- Click yes, if prompted for UAC, and click “Allow” for merging the files into the existing ones.
- But make sure to take backup your registry file before merging registry files.
Method 3: Using PowerShell:
You can also use PowerShell commands to manage the common program groups. This method is quick and effective:
- Open PowerShell as Administrator by right-clicking the Start button and selecting Windows Terminal (Admin).
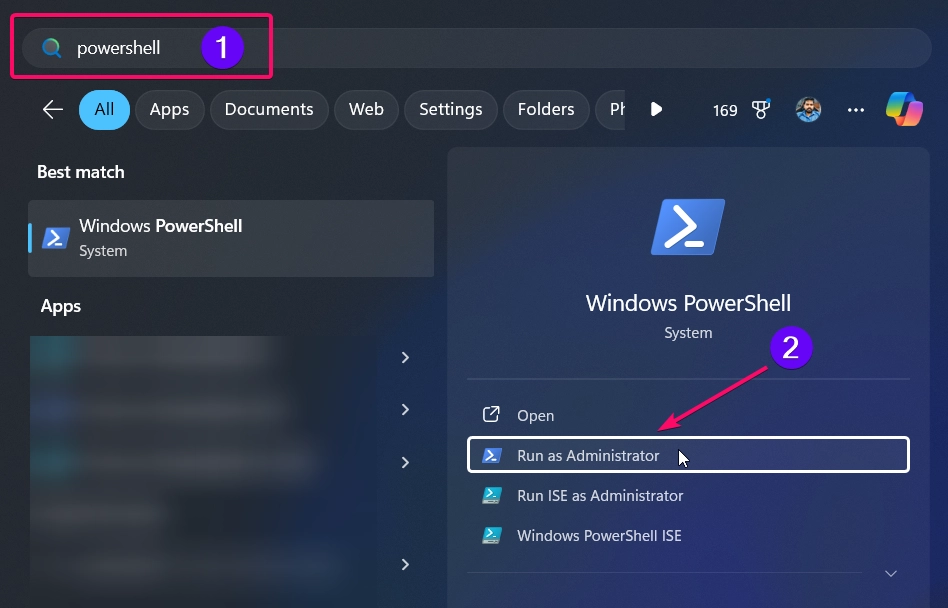
- To remove a program group, use the following command:
Remove-Item -Path "C:\ProgramData\Microsoft\Windows\Start Menu\Programs\<ProgramName>"

- Replace
<ProgramName>with the name of the group you want to remove. - To add a program shortcut, copy the program to the path using:
Copy-Item "C:\Path\To\Program.lnk" -Destination "C:\ProgramData\Microsoft\Windows\Start Menu\Programs\"

- Close PowerShell and restart your computer to reflect the changes.
PowerShell is particularly useful for scripting and automating the customization of the Start Menu.
Conclusion
Customizing the common program groups in the Start Menu of Windows 11 gives you better control over the applications visible to all users. Whether you use the manual folder method, Registry Editor, Group Policy Editor, or PowerShell, you can easily add or remove program groups based on your needs. By following these methods, you can keep your Start Menu clean, organized, and tailored to your workflow.
Read More:
- How to Add/Remove Android Apps from Your Phone to Start on Windows 11 PC?
- How to Turn On/Off Airplane Mode in Windows 11?
- How to Enable/Disable Peek in Windows 11?
