How to Add or Remove “Boot to Advanced Startup” Context Menu in Windows 11?
How to Add or Remove "Boot to Advanced Startup" Context Menu in Windows 11 PC!
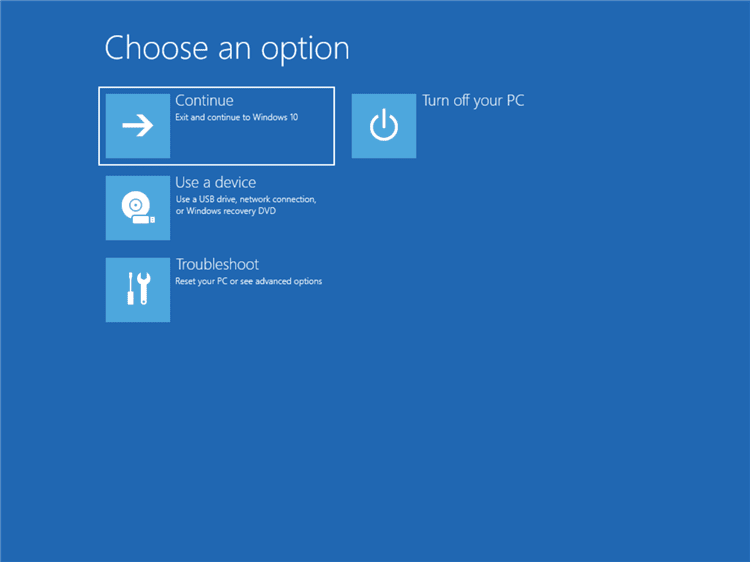
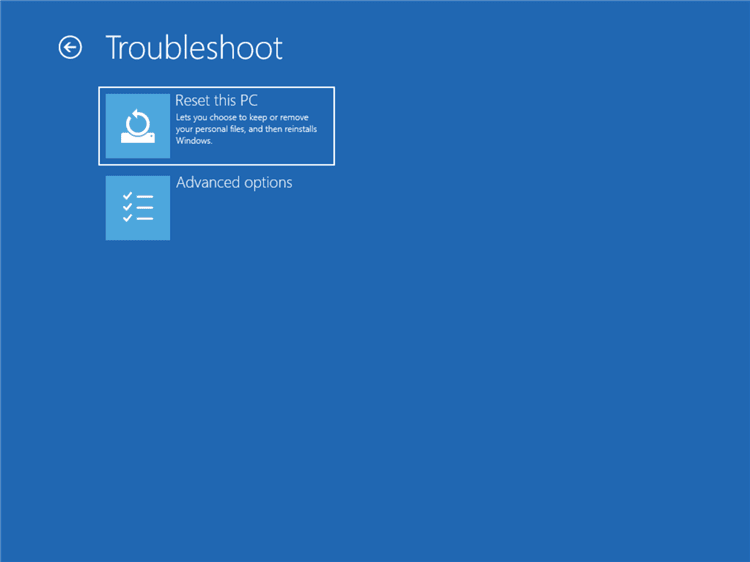
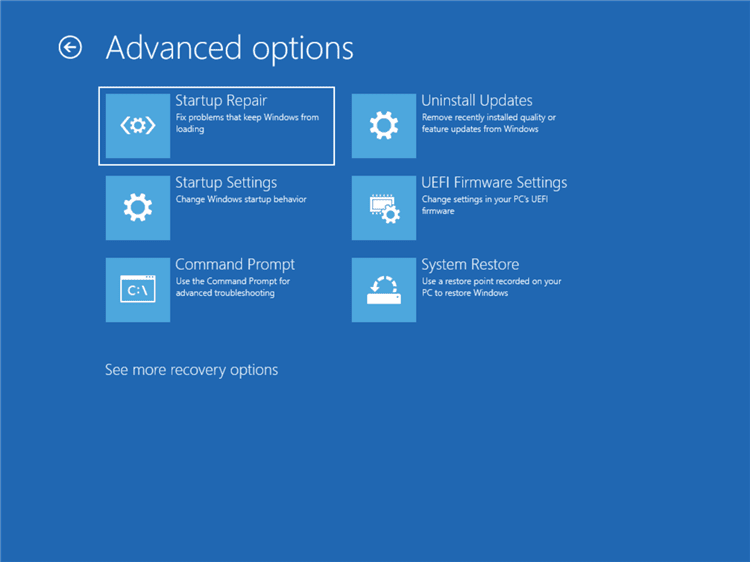
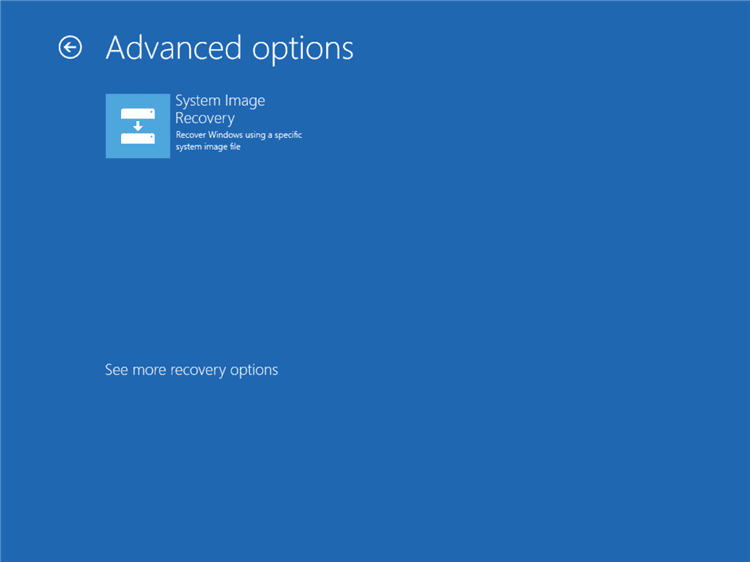
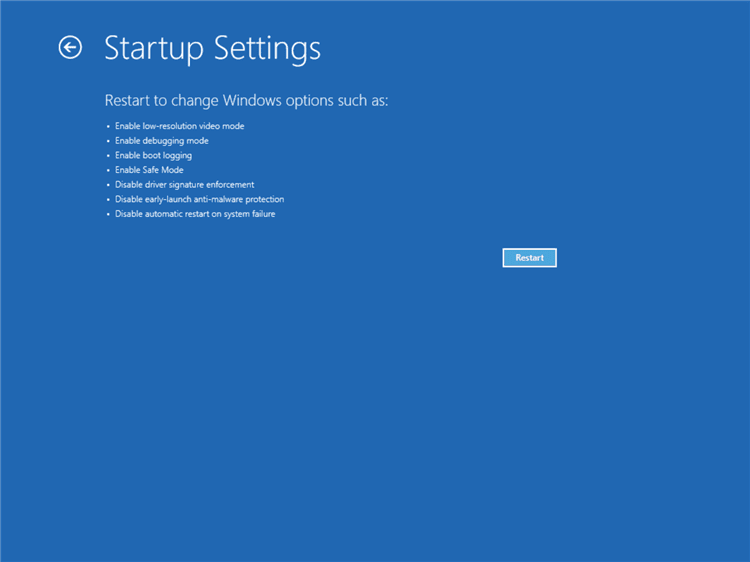
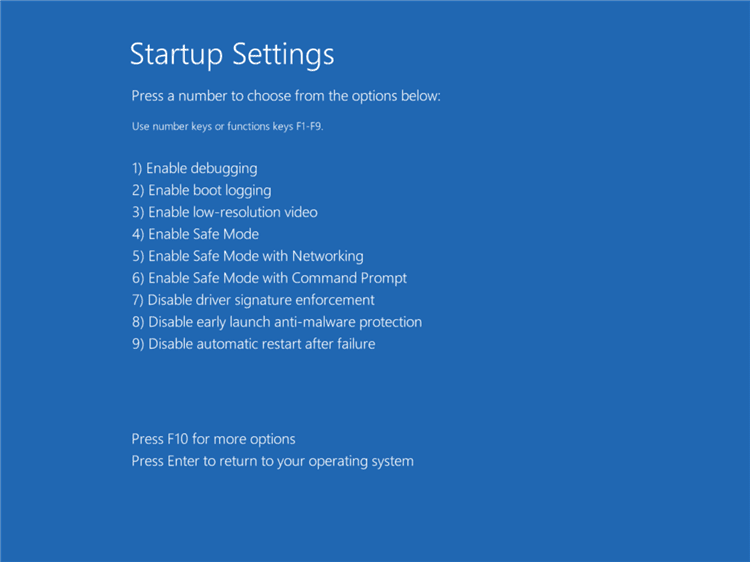
The Advanced Startup Options in Windows 11 allow users to troubleshoot and repair their system by providing access to features like Safe Mode, Startup Repair, and System Restore. Adding a “Boot to Advanced Startup” option in the right-click context menu makes accessing these options quick and convenient. This tutorial will guide you through the steps to add or remove this option from the context menu.
Recommended: Add/remove “add To Favorites” Context Menu In Windows 11
Having a “Boot to Advanced Startup” option in the context menu provides quick access to troubleshooting tools without navigating through multiple settings. It’s especially useful for system administrators and advanced users who frequently troubleshoot Windows issues.
Example Images:
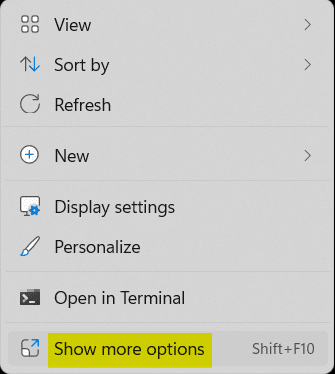
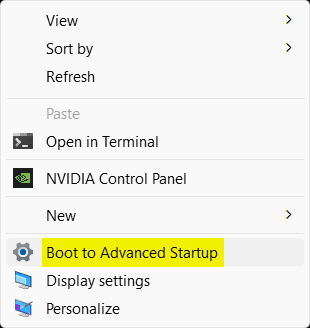
Method 1: Add “Boot to Advanced Startup” Context Menu Using Registry Editor
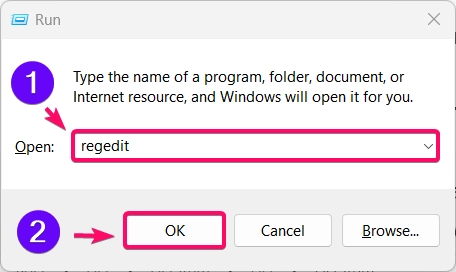
- Press Winkey + R to open the Run dialog, type
regedit, and press Enter.
- Navigate to the following path:
HKEY_CLASSES_ROOT\DesktopBackground\Shell
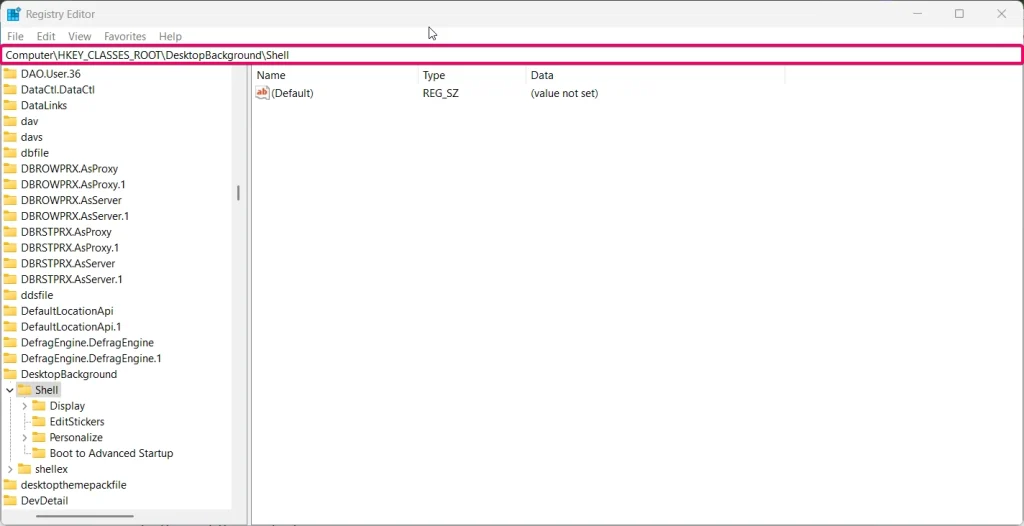
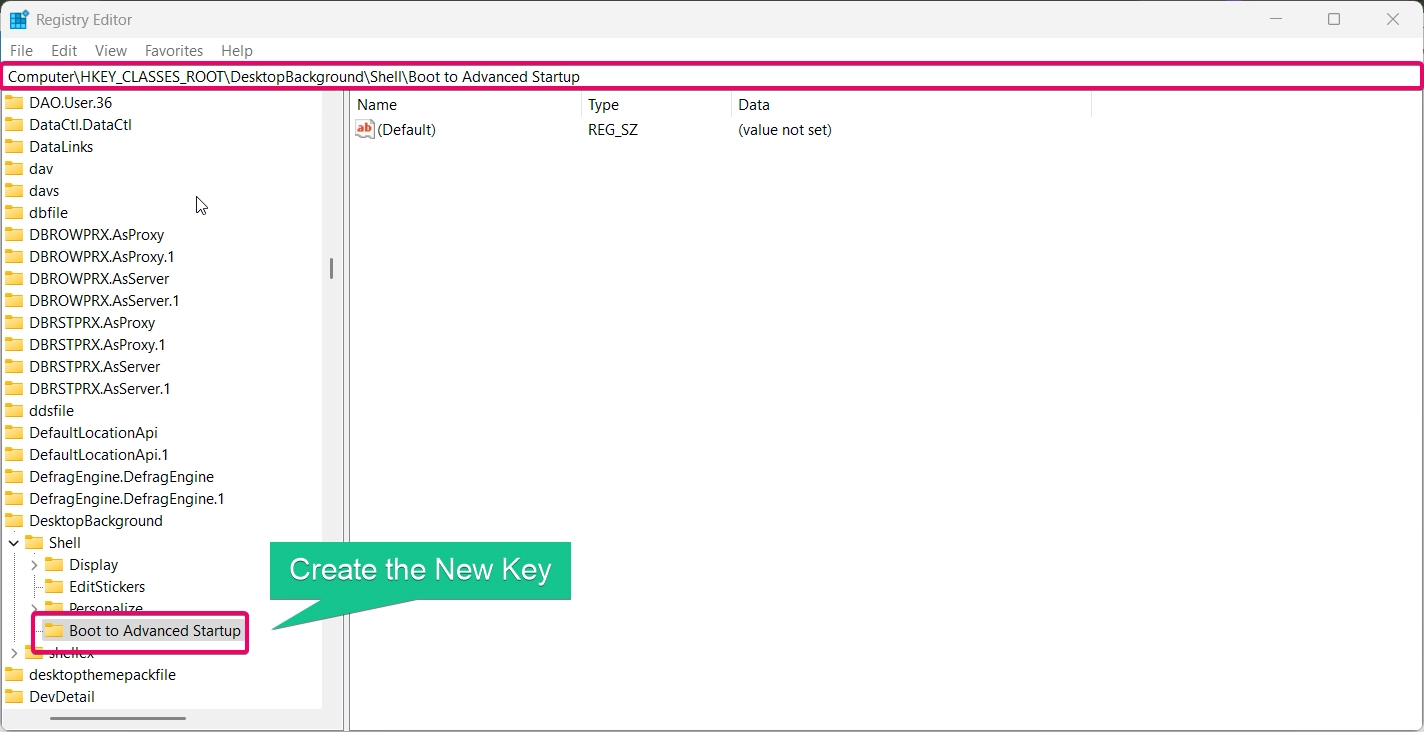
- Right-click the Shell key, select New > Key, and name it Boot to Advanced Startup.
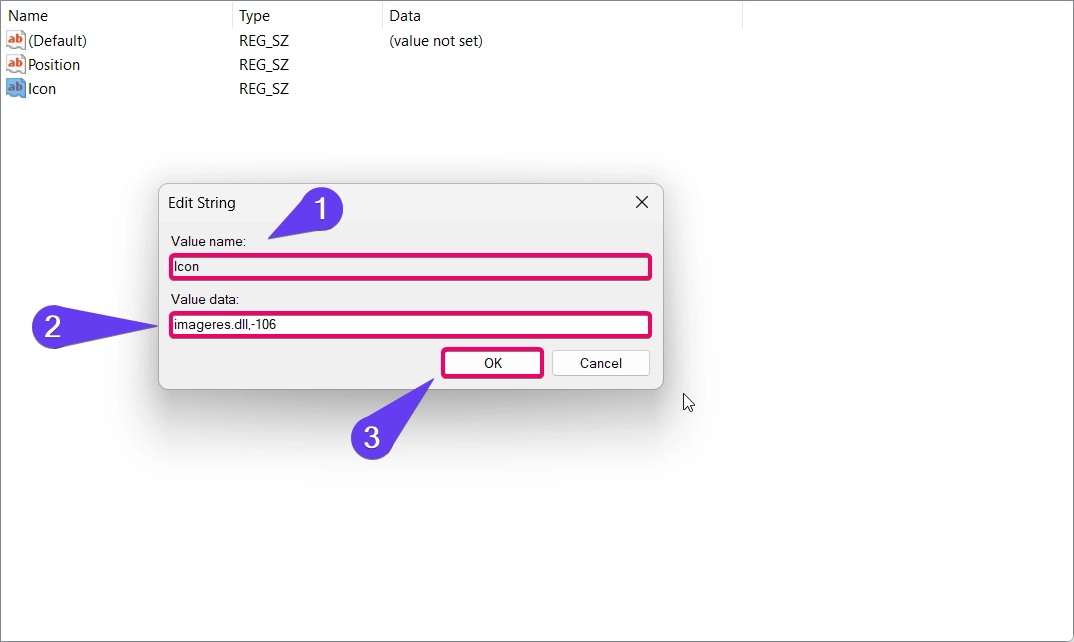
- Inside the new key, create a new string value named Icon and set its value to
imageres.dll,-106.
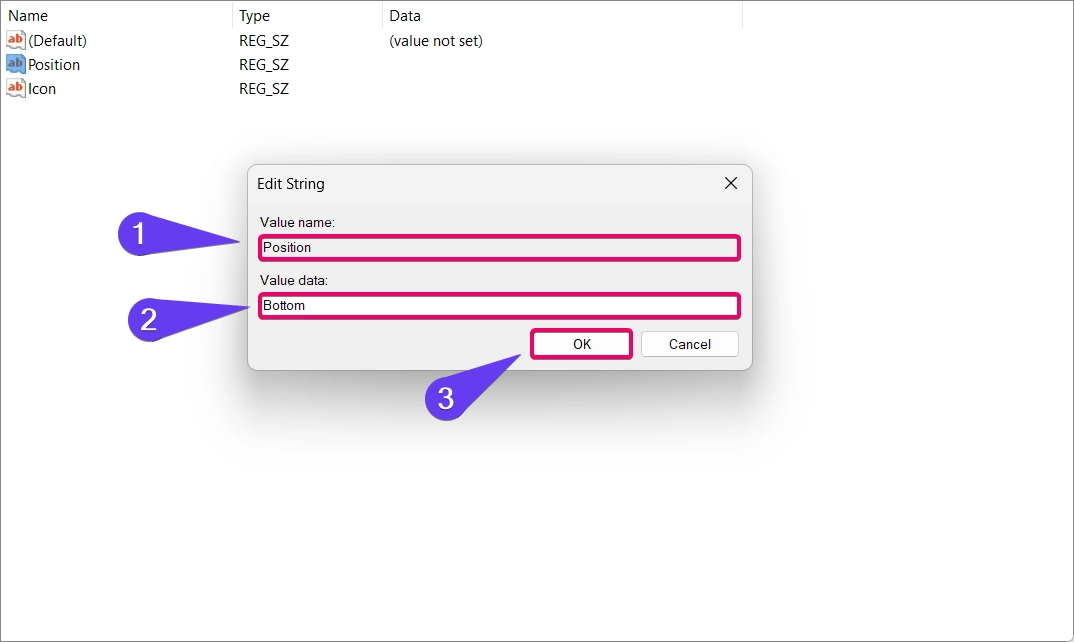
- Create another string value named Position and set it to Bottom to position the menu option at the bottom of the context menu.
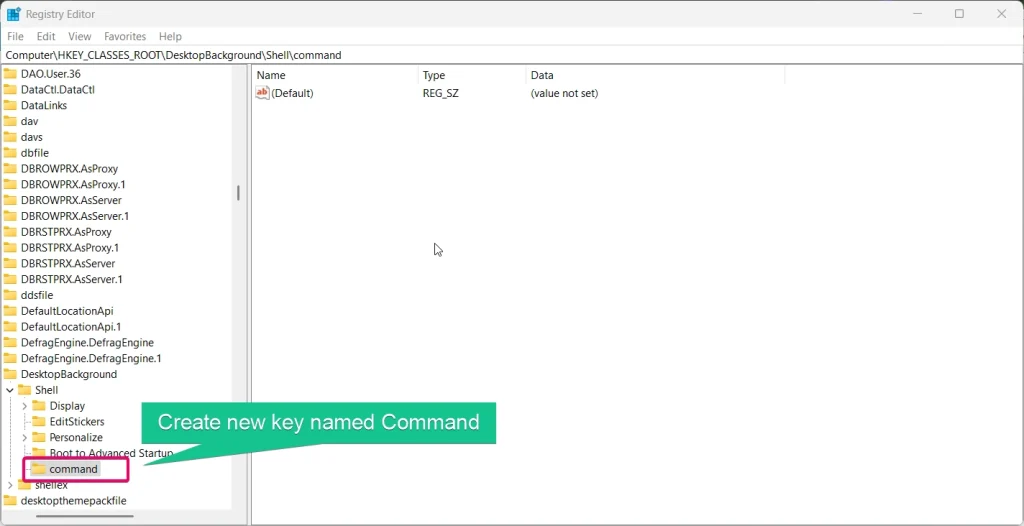
- Right-click the Boot to Advanced Startup key, select New > Key, and name it command.
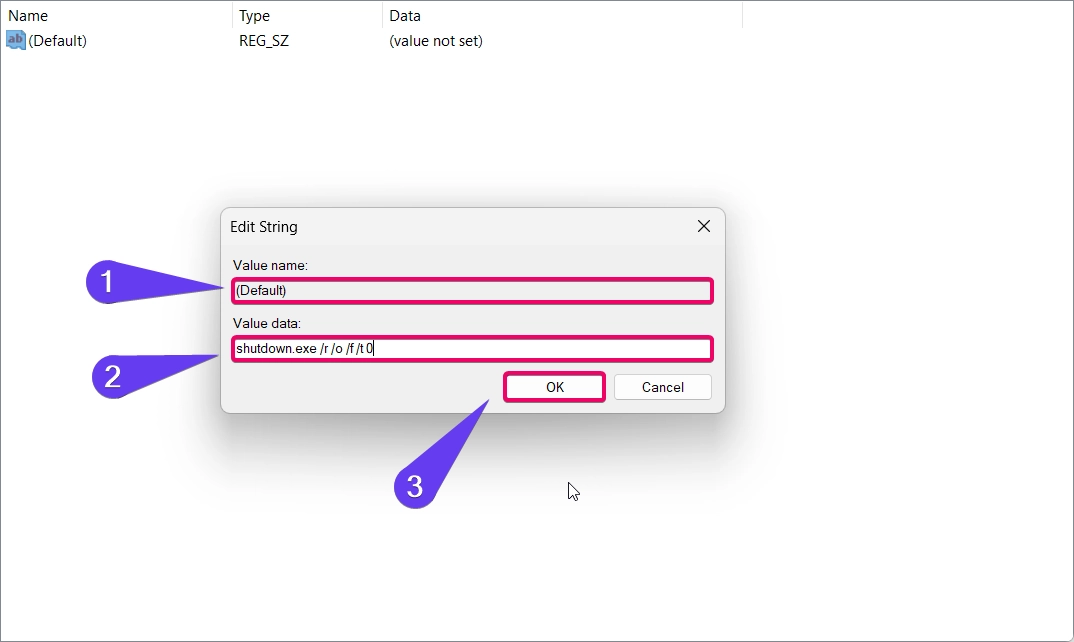
- Double-click the (Default) value of the command key and set its value to:
shutdown.exe /r /o /f /t 0
- Close Registry Editor and right-click the desktop to verify the new context menu option.
Method 2: Remove “Boot to Advanced Startup” Context Menu Using Registry Editor
If you no longer need the Boot to Advanced Startup option, you can remove it by following these steps:
- Open Registry Editor as described above.
- Navigate to the same path:
HKEY_CLASSES_ROOT\DesktopBackground\Shell
- Locate the Boot to Advanced Startup key.
- Right-click the key and select Delete.
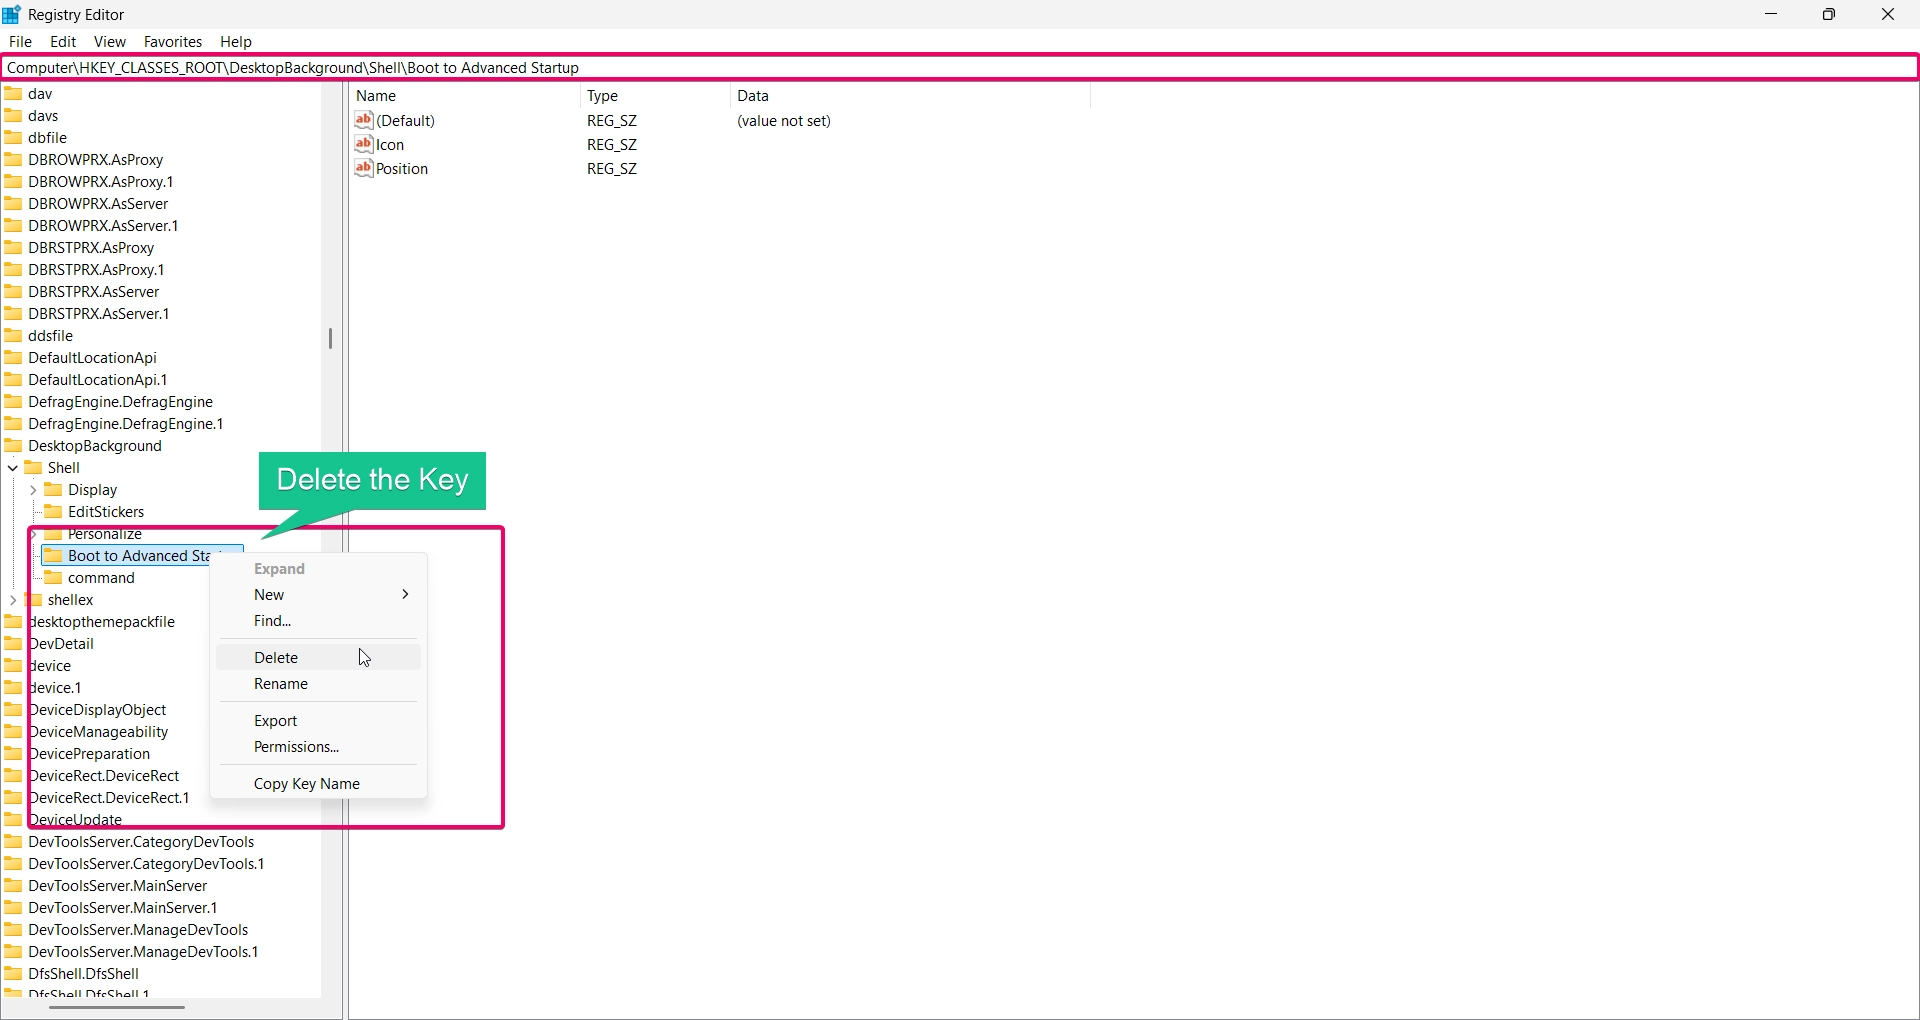
- Confirm the deletion and close Registry Editor.
This will remove the Boot to Advanced Startup option from your context menu.
Method 3: Using Ready-Made Registry Scripts
If you’re not comfortable manually editing the registry, you can use pre-made scripts to automate the process.
Add the Context Menu
- Open Notepad and paste the following code:
Windows Registry Editor Version 5.00
[HKEY_CLASSES_ROOT\DesktopBackground\Shell\Boot to Advanced Startup]
“Icon”=”imageres.dll,-106”
“Position”=”Bottom”[HKEY_CLASSES_ROOT\DesktopBackground\Shell\Boot to Advanced Startup\command]
@=”shutdown.exe /r /o /f /t 0″
- Save the file as
Add_Boot_to_Advanced_Startup.reg. - Double-click the file to run it and apply the changes.
- Click allow if prompted for UAC and confirm the merge of the registry file.
- Restart your pc immediately.
Remove the Context Menu
- Open Notepad and paste the following code:
Windows Registry Editor Version 5.00
[-HKEY_CLASSES_ROOT\DesktopBackground\Shell\Boot to Advanced Startup]
- Save the file as
Remove_Boot_to_Advanced_Startup.reg. - Double-click the file to run it and apply the changes.
- Click allow if prompted for UAC and confirm the merge of the registry file.
- Restart your pc immediately.
Method 4: Using Third-Party Tools
If you prefer a GUI-based approach, tools like Winaero Tweaker can help you manage and customize context menu entries, including adding or removing options like Boot to Advanced Startup.
Conclusion
Adding a “Boot to Advanced Startup” option to the context menu in Windows 11 provides a convenient way to access troubleshooting tools. Whether you choose to modify the registry manually, use scripts, or rely on third-party tools, the steps above offer flexibility and control. If you no longer need this feature, removing it is just as simple.
Read More:
- How to Add/Remove Common Program Groups from Start Menu in Windows 11?
- How to Add/Remove Android Apps from Your Phone to Start on Windows 11 PC?
- How to Turn On/Off Airplane Mode in Windows 11?
