How to Enable or Disable an Account in Windows 11?
What are the Unique methods to Enable or disable an account in windows 11 pc?
In Windows 11, you can enable or disable user accounts to control access to your computer. Disabling an account temporarily restricts access without deleting the account or its data, making it ideal for managing access on shared or family devices. This guide provides multiple methods to enable or disable accounts in Windows 11, allowing you to securely manage user access with flexibility.
Why Enable or Disable a User Account?
Disabling an account is a convenient way to restrict access temporarily without permanently removing the account or its files. For example, you may want to disable an account if it’s no longer in use, or if you need to limit access for specific users on a shared device.
Method 1: Using Command Prompt
For users who are comfortable with the Command Prompt, this is a quick and efficient method to enable or disable accounts.
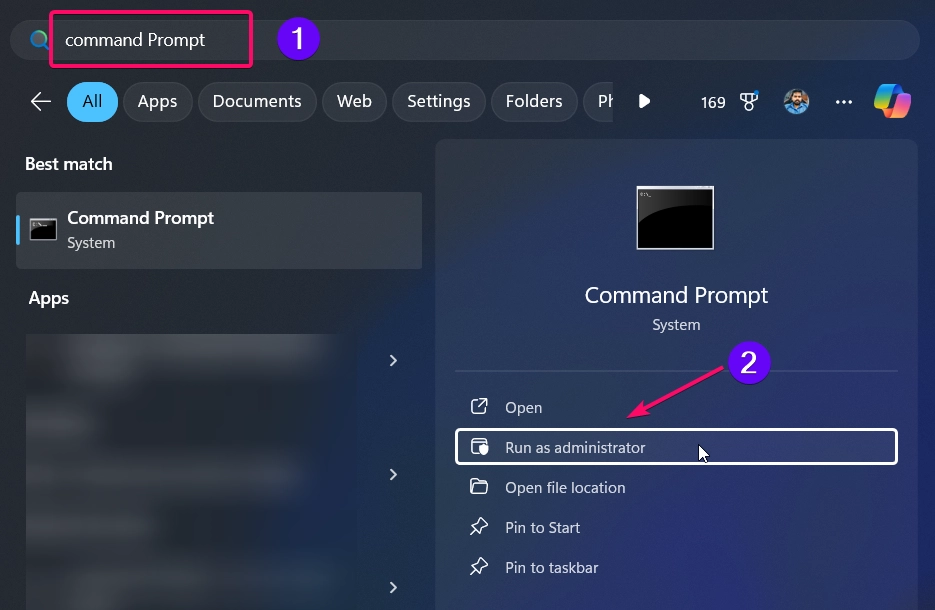
- Open Command Prompt as Administrator by typing “cmd” in the Windows search bar, right-clicking the result, and selecting Run as administrator.
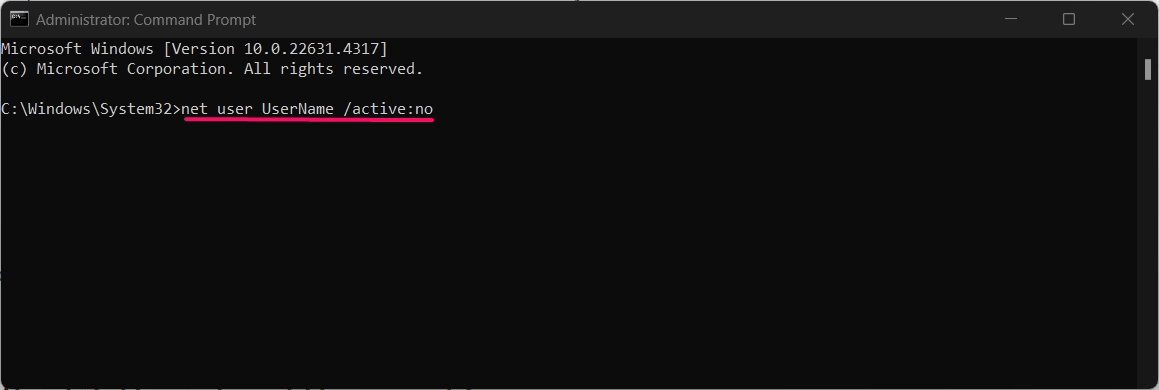
- To disable an account, type the following command and press Enter:
net user UserName /active:no
- Replace “UserName” with the actual name of the account you want to disable.
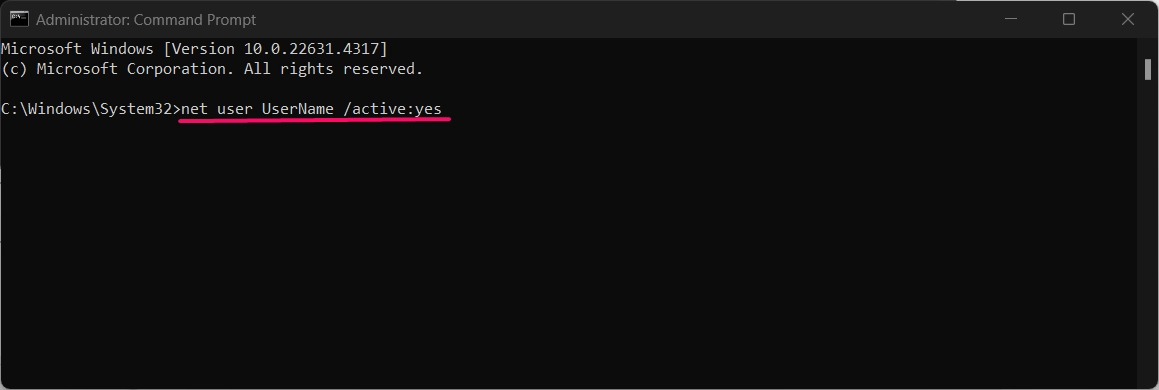
- To enable the account again, type:
net user UserName /active:yes
- Close Command Prompt.
This command line method is straightforward, ideal for users familiar with text commands and those who need quick access management.
Method 2: Using Local Users and Groups
Note: This method is only available in Windows 11 Pro, Enterprise, and Education editions.
The Local Users and Groups management tool provides a more detailed way to enable or disable accounts:
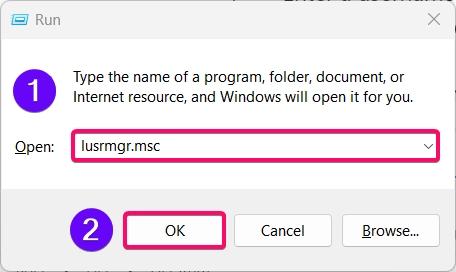
- Press Winkey + R to open the Run dialog, type
lusrmgr.msc, and press Enter.
- In the Local Users and Groups window, click on Users.
- Right-click the account you want to enable or disable, then select Properties.
- In the Properties window, find the option Account is disabled:
- Check the box to disable the account.
- Uncheck the box to enable the account.
- Click Apply and then OK to confirm the changes.
This method provides more control over each account’s properties, making it a good choice for advanced users or administrators.
Method 3: Using PowerShell
PowerShell provides a command-line option for enabling or disabling accounts, similar to the Command Prompt method.
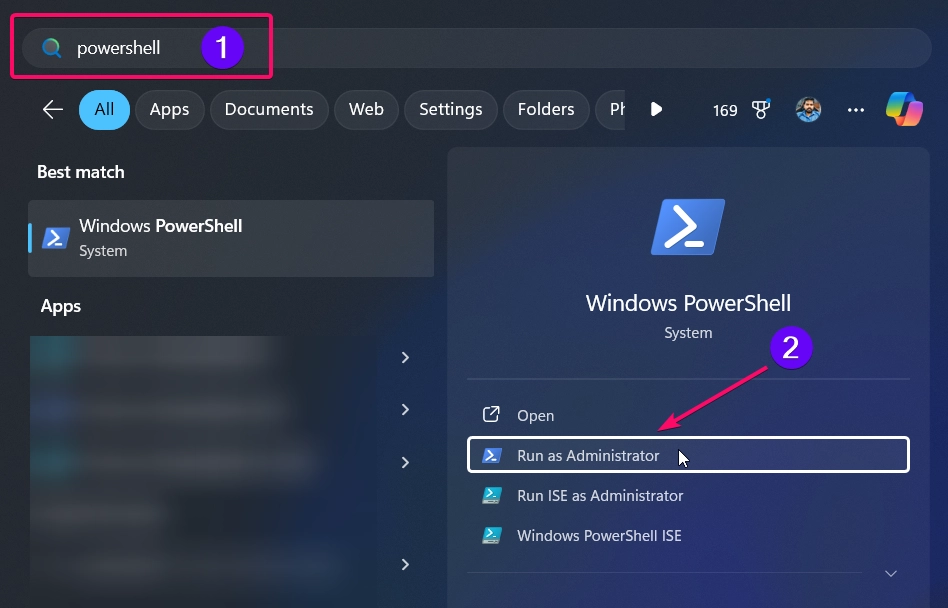
- Open PowerShell as Administrator by right clicking the Start menu and selecting Windows Terminal (Admin).
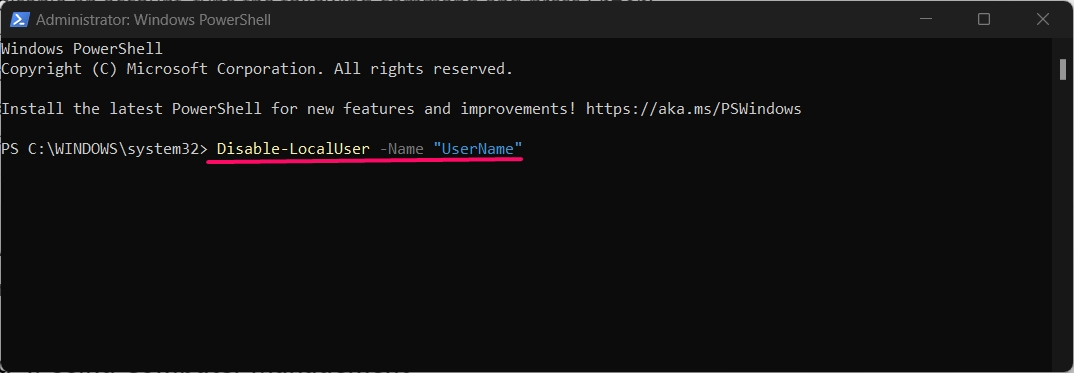
- To disable an account, type the following command and press Enter:
Disable-LocalUser -Name "UserName"
- Replace “UserName” with the exact name of the account you want to disable.
- To enable the account again, use:
Enable-LocalUser -Name "UserName"
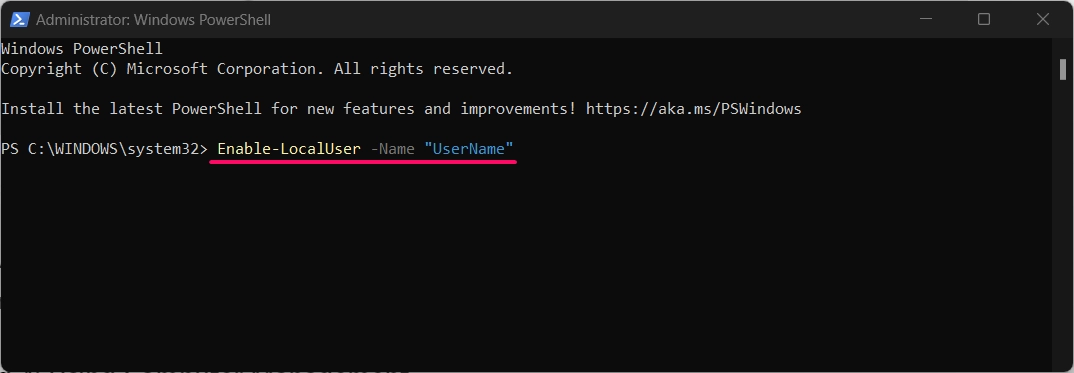
- Close PowerShell.
This PowerShell method is ideal for users who prefer scripting and automation, allowing quick management of user accounts.
Method 4: Using Computer Management
Computer Management is another useful tool for managing user accounts in Windows 11, available to Pro, Enterprise, and Education users.
- Press Winkey + X and select Computer Management.
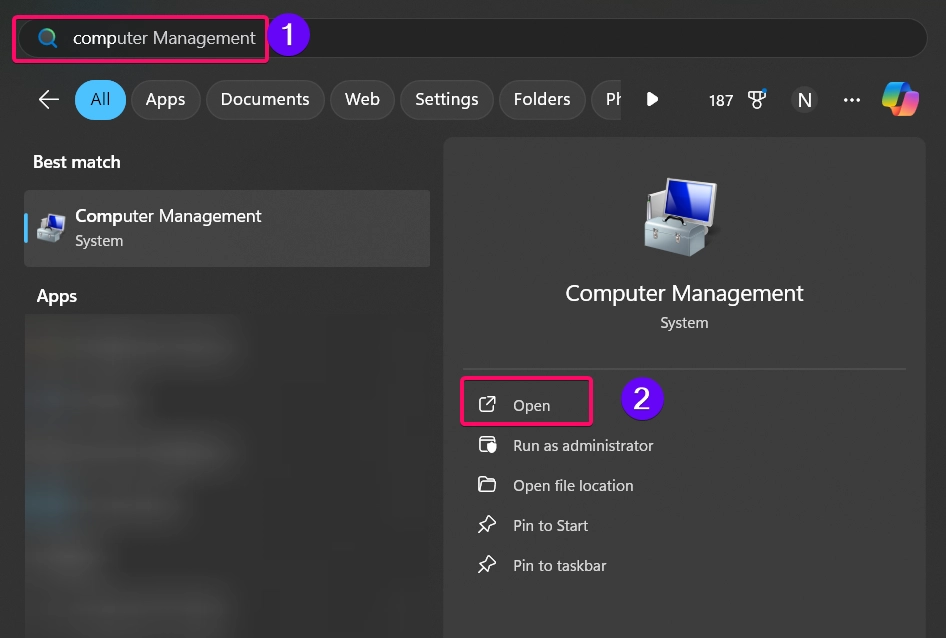
- In the left pane, navigate to Local Users and Groups > Users.
- Right-click the account you want to enable or disable and select Properties.
- In the Properties window, check the box for Account is disabled to disable the account, or uncheck it to enable the account.
- Click Apply and OK to save the changes.
This method provides easy access to account management within the Computer Management console.
Why Use These Methods to Enable or Disable Accounts?
Each of these methods offers unique advantages for managing user access in Windows 11. Whether you prefer using command-line tools like Command Prompt and PowerShell or graphical tools like Local Users and Groups and Computer Management, these options provide efficient ways to manage account accessibility without the need to delete or modify data.
Conclusion
Enabling or disabling accounts in Windows 11 is a simple yet powerful way to manage who has access to your device. The above methods provide flexibility, from using the Command Prompt for quick changes to using Local Users and Groups for a more detailed approach. By choosing the method that best fits your preference, you can easily control access to your computer, enhancing both security and convenience.
